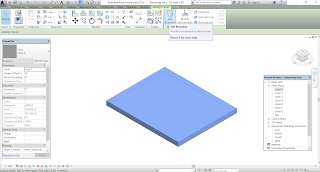
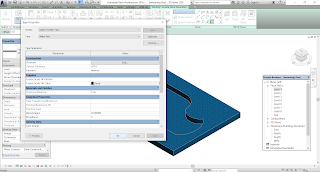
Like others day's also I told you, firstly open Revit, after that click on Architectural Template, give a name anything you want and after that make some levels. Now it's time to start the work. So today I am going to discuss how to make swimming pool in Revit.
In the image you can see that I made the levels first and after that only I started to make plans/ do work.
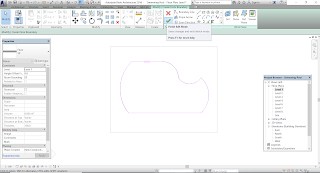
So, what to do after that. Again click the rectangular box and then go to Edit boundary. But wait before doing that in the project browser from the floor plans click on Level 1 and then you edit the boundary. After that you select on line tool or curve line tool and then make the shape you want (the swimming pool to be). After that click on green tick button and you see that the surface becomes hollow. And there you can make the swimming pool.
 |
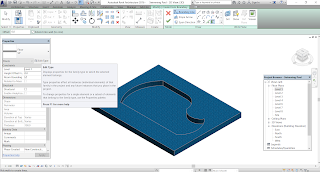
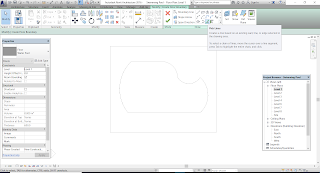
| Select on the 3D image and then go to Edit boundary option. |
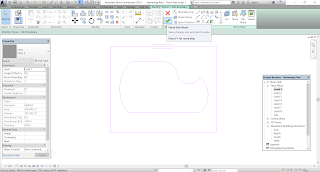 |
| Select any line tool you want to make your swimming pool. |
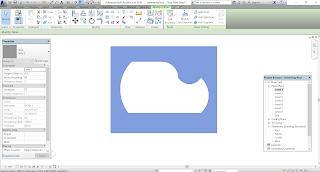 |
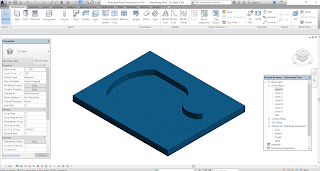
| After making it, click on green tick button to complete it. You can see that the surface is hollow. |
To see the hollow surface in 3D view you can see it. Click on the house button or in View tab click on 3D house button from there you can see it.

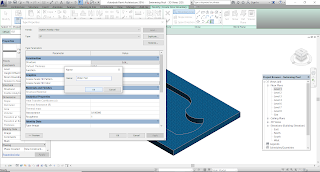
Now the main work begins. These are normal and you can create it by yourself. But as a beginner it may be somewhat risky for you. Okay, let's come to the topic, so what to do next. Again in the Floor Plans go to Level1 and after that click on Floor Architectural option. And after that duplicate it. Remember anything new when it's to be done, you should have to duplicate it. Because that is only the choice you want your structure to be. Okk, so now after duplication see that the default thickness to be 100mm, and if it's not, then go to edit option and make it 100mm. And after that click on OK button.
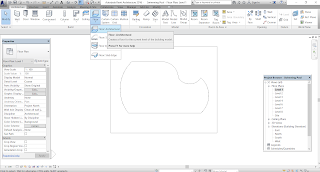 |
| Click on Floor Architectural option |
 |
| After that duplicate it and give it any name |
 |
| Click on Edit button and make the default thickness as 100mm |
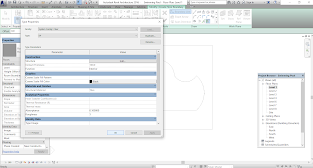 |
You can see here the Default Thickness is 100mm.
|
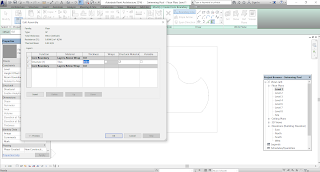
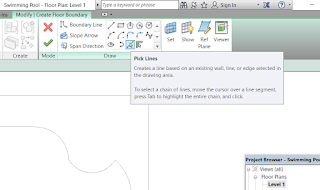
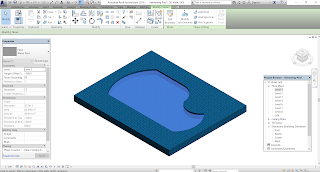
After that click on boundary line and from there you see that an option pick line is available. Click on Pick Line and just click on the swimming pool lines that you have made before. After selecting all the lines click on green tick button and you see that the required image is made. But it comes at the top because the base offset is remained as default. So what to do. Select the image that you have made now, and from the Properties Template you see that Height Offset is available and give there as -800mm so that it comes at the bottom.
 |
| Select the option Pick Lines |
 |
| After picking the swimming pool lines, after that click on green tick button. You see that the object is ready. |
 |
| After that the object comes below and it looks clear, descent as if base is there for swimming pool. |
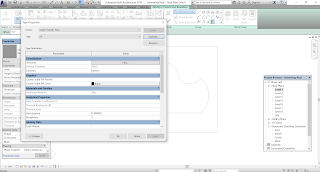
So what to do after that. Wait! the work is not over yet, there some more things left to do. Again go to the Edit Type, Duplicate it and give it something name as Water pool or swimming pool whatever, and give the default thickness as 600mm. So now ready to make the water pool.
 |
| Again go to Edit Type |
 |
| Duplicate it and give whatever name you want |
 |
| Give the default thickness as 600mm. |
Again from the Floor Plans come to Level 1 and from the Edit Boundary tab choose the Pick Line option again. So select the lines that you have made for swimming pool and after completing click on Green tick option again. The required shape comes on the screen. You can see it in 3D view also. Again the same problem, So again make the same step as it was explained before. Select the object that you have made and give the height offset as -200mm so that it comes at the bottom. And after that fill the color of Swimming pool.
 |
| Come to Level 1 and from the boundary line choose the Pick Lines option and after completing it select green tick button. |
 |
| Select the object that you have made and give the height offset as -200mm. |
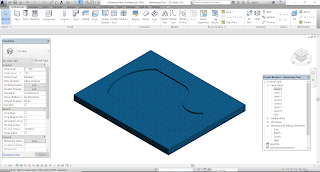 |
| After that again select the object of swimming pool and give color to it. |
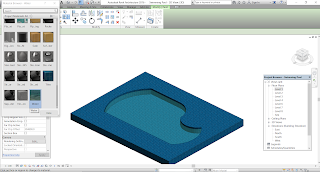 |
You can see that in the color option Water is available. So I have given that color.
You can also make it by choosing the materials default browser and from there you can make it. |
So your swimming pool is ready or you have made your own swimming pool. And for the swimming pool to look attractive you can place some components at it. I have also given some components so that looks somewhat different. You can also give it some.
So how to place those components. Come to the the Level 1 and from there go to Architectural tab. You can see a component option is available there. How to place components you can see it in some You Tube video's or some other video's. But theoretically you will understand nothing. So it's better to watch from there.
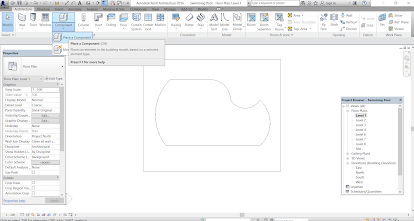 |
| In the Architecture tab you can see that Component option. |
So I have also given some components and placed it on the Swimming Pool. But remember you should have to place it in 2D view only. In 3D view, it is possible but it will not come it on required surface. Todo that you have to take hard time and hard work to do. But I have p[laced in 2D view only and my required components appears like this.
So you practice 2-3 times on Revit and after that you can make like above scenery. Good Luck and wish that you can make it easily. Okk, bye-bye see you in the next blog. In the next blog I am going to discuss about making of gardening.
You can click here.
You can follow me on:-


Comments
Post a Comment
Please do not enter any spam comment.