Before explaining about making a garden in Revit, I would like to say it is same as that of swimming pool, I had explained before. And if you have not gone through that, then click here. Look at this blog, then only you will get the idea of making this swimming pool and gardening. And if you have not seen that swimming pool blog, just click here.
Okk, then also I am going to explain about it. "How to make a garden in Revit?" Well as I have told you before it is same as that of making swimming pool. So first open the Revit software and after that go to the Architectural Template and give a name to it. Well you know about this. After that when the main screen appears for drawing walls, columns whatever the tools of drawing. So like that, go to the architectural tab and select the Floor Architectural, After that go to the Edit Type and then Duplicate it. Give any name you want and also the thickness as 400mm. After that click on OK button.

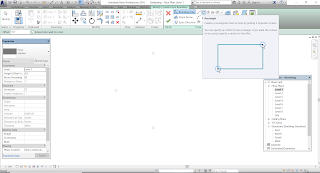
So after doing those steps, now go to boundary line and take the rectangle tool. After that draw the rectangle as per your required dimensions and sizes. And after that click on the green tick button. Your required box is ready. You can also see it in 3D View also. So what to do after that. Wait, I will tell you. But first make this thing.
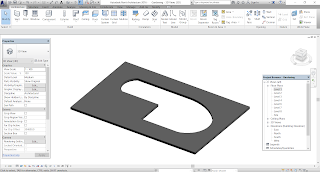
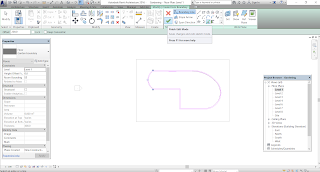
Now select the cuboid/box that you have made and after that go to the Edit Boundary option. Bring it to the top view or you can click the level 1 button from the project browser. After that take a line and make the shape of the garden as you want. And then click on the green tick button. You will see that the hollow surface appears in it.

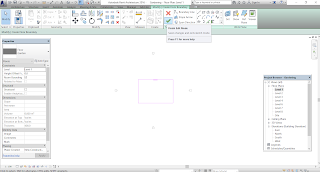
So the main work begins now. This, I have told you in Swimming Pool blog also. Making of garden is same as that of swimming pool also and vice-versa. Now, again go to the Floor Architectural and bring the plan to top view or Level 1. Again go to Edit Type and Duplicate it. Give any name and give the Default Thickness as 300mm. After that select Pick Line option and select the lines that you have made for garden area. After you completed picking all the lines, click on the green tick button. In the 3D view you will see that area comes on the same level. So to bring the garden area at bottom give the height offset as -200mm. (About Height Offset you will get to know in Swimming Pool)
Now it's time to make border or you can say it as garden boundary. So to do that again go to the Floor Architectural, then go to Edit Type then duplicate it and give a name. After editing the name give the default thickness as 400mm. After that click on OK button. Now, from the boundary line click the Pick Line option and you select the garden area lines. After that give a offset of about 100mm or 200mm (just say) and you select the lines. Wait I will show you how to make it. After you completed selecting lines click on the green tick button and come to the 3D-view.
The border appears at the same level, so to bring it above give the height offset/ base offset as 200mm. You will see that the border comes above.....and which is clear from the outer region to view it.
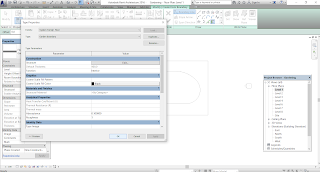 |
| Give the Duplicate name as Garden Boundary and Default thickness as 400mm |
 |
| Give offset as whatever ditance you want. I have given 200mm. And make border area. |
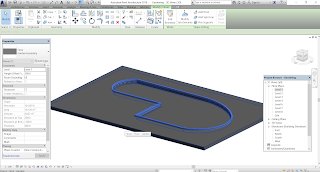 |
| Give the height offset as 200mm as you can see in the picture. |
Now it's time for coloring. So for coloring go to Manage tab and you see that a Materials option is available there. Click on that and see the material you want. If the materials available there is not of your choice, then you can do one thing. In below you can see a sphere button, just click on that and you see,- two options are available. Click on "Create New Material". You see that a material toolbar appears somewhere and you rename it, as your choice. After that you select the chart type button, exactly right to sphere and an another dialog box appears. From there you select the material you want. After that click on Apply button and then OK button.
Now for applying paint go to the Modify tab and in their you can find the Paint option. A paint toolbar appears. Just find the tool you have just created and apply on it to the surface where you want. You select it and apply it. You will get your required garden area.


Comments
Post a Comment
Please do not enter any spam comment.